Connecting a system
Choosing a system, signing in, choosing tables, and syncing.
Overview
Connecting a system lets Mira read the tools your business already runs on, such as your CRM, your accounts or your online shop. You connect it once for the whole organisation. From then on Mira keeps its own copy up to date, so answers use current figures without anyone exporting a spreadsheet.
Every connection is read-only. Mira reads from the system and never writes anything back to it.
At Kestrel Outdoor, an admin connected HubSpot for the organisation and then shared its tables with Sales. Connecting is done by an organisation owner or admin, in Settings under Sources.
Choosing a system
- Open Settings, choose Sources, and click Add data.
- Choose Connect a source.
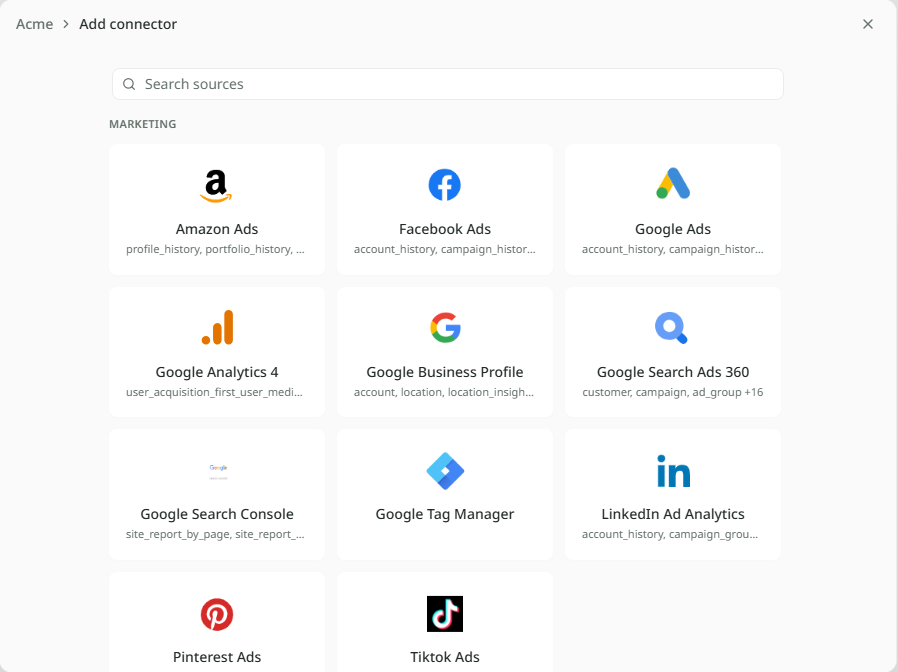
- Find your system in the list, or type its name in Search sources, and click it.
- Give the connection a name under Connector Name. You can also pick a Daily Sync Time, the time of day Mira fetches new data.
- Click Create & Authorize.
If your system isn't listed, use Request a connector at the foot of the list and tell us which one you need.
Signing in
Mira needs permission to read your system, so the next step is signing in to it.
- Click Open authorization window. A new tab opens on the system's own sign-in page.
- Sign in and allow access.
- Come back to Mira. It moves on by itself. If it doesn't, click I finished authenticating.
Handing the sign-in to a colleague
Often the person connecting isn't the person with the login. On the setup step, click Someone else has the login? Hand it over. and search for your colleague. The connection waits on their home page for them to finish. On the Sources page it reads "Waiting on" and their name until they do.
If the plan changes, Take over on the Sources page lets you finish it yourself.
Choosing tables
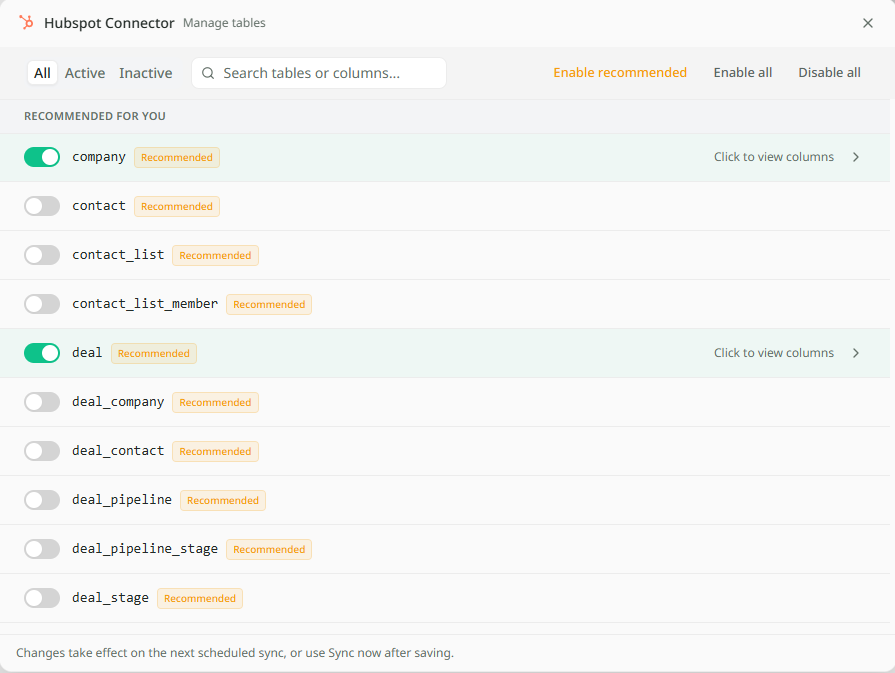
Once signed in, Mira shows the tables the system offers. Tables marked Recommended for you are the ones most people need.
- Switch on the tables you want, or click Enable recommended.
- Click Start syncing.
- Click View in Data catalogue to see them arrive, or Close.
The first sync can take a few minutes. The new tables belong to the organisation and nobody sees them yet. Choose which departments can use each one in Shared sources.
Syncing
Syncing means Mira fetches the latest data from the system and updates its copy. It happens on its own once a day, at the time you chose. Nobody has to do anything.
To fetch the latest data straight away, open the system on the Sources page and click Sync now. You can do this once an hour. The page shows when it last synced.
To add or remove tables later, click Manage tables on the same page. Changes take effect on the next sync.
What can be connected
There are hundreds of systems to choose from. They fall into these groups. The Connectors page has the full list.
| Group | For example |
|---|---|
| Databases & warehouses | PostgreSQL, MySQL, Snowflake, BigQuery, Redshift |
| Files & storage | Google Drive, Google Sheets, SharePoint, OneDrive, Dropbox |
| CRM & support | Salesforce, HubSpot, Zendesk, Intercom, Freshdesk |
| Analytics & product | Google Analytics, Mixpanel, Amplitude, PostHog, Segment |
| Marketing & ads | Google Ads, Facebook Ads, LinkedIn Ads, Mailchimp, Klaviyo |
| Finance & e-commerce | Stripe, Shopify, QuickBooks, Xero, NetSuite |
| Productivity & collaboration | Slack, Notion, Asana, Airtable, BambooHR |
| Developer & IT | GitHub, Jira, GitLab, ServiceNow, Linear |
Whichever you connect, access is read-only. Mira can't change, add or delete anything in it.